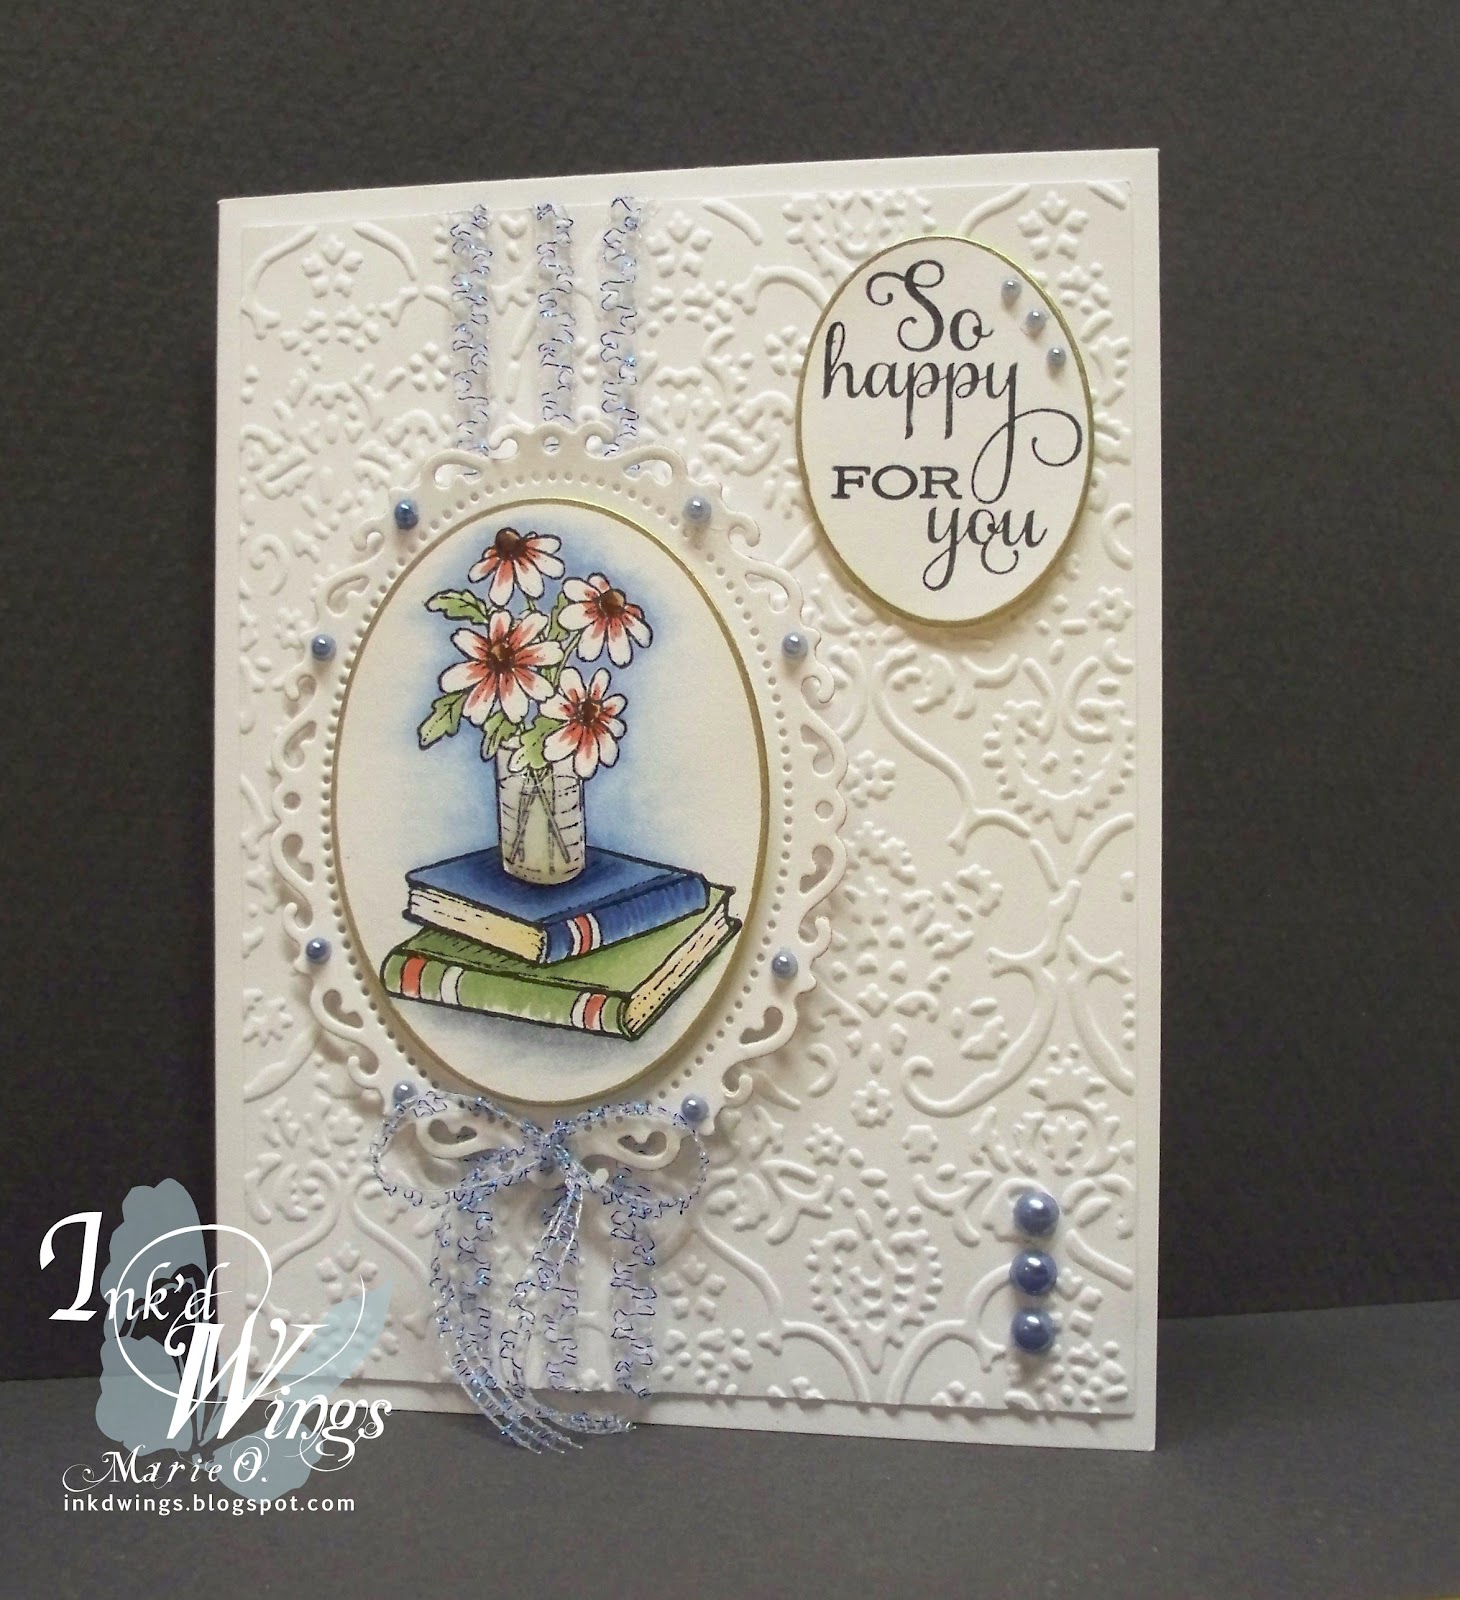
This week for the Timeless Tuesday Challenge, Deborah is challenging us to make a project for a "Wedding". I searched through my baskets of cards and realized that I didn't have any wedding cards....so...off to the drawing board to create one.
Dies from PTI, Sizzix and MFT were used for this card. The image and the die cut flower were colored with Copic markers.
Yellow acrylic paint was applied to the flower centers using a toothpick then glitter glue (dollar bin!!!) was added over the centers and on the edges of the die cut flower. Liquid pearls added the final touch on the embossed section and scattered around the floral image.
The ribbon was woven through the card on the front and the ribbon edges were concealed behind this circular floral image on the inside. This is one of those oops moments....forgot to add the highlighting behind the image and the glitter glue in the flower centers. Grrrr....don't you hate it when you take a photos, color correct it, crop it, add your watermark then when you post the photo you realize you forgot something? Oh well pretend that the missing items are there! By the time you read this the forgotten steps will be added.
Back to creating cards in my Butterfly Garden.
Showing posts with label FTTC. Show all posts
Wednesday, April 24, 2013
Thursday, March 28, 2013
Grab Some Thread??
"Grab some thread" is the title of the Timeless Tuesday challenge at Flourishes. I rarely sew and I can't justify sewing on cards when I have clothing that needs to be sewn. That being said...I read farther and saw "FAUX" sewing is allowed.......now that's something I can do!
The image was colored with Copic markers and the bee wings were highlighted with a Stardust pen. An ultra fine black pen was used for the "FAUX" stitching which showcases the trail of the bees.
The inside of this card was done!!! Now that is remarkable for me....I have a gazillion cards with nothing on the insides...I figure I can add an appropriate verse when I get ready to use the card! yah right!! Whenever I do this I wish I had a scrap of DP from the front to put inside, think I can find one measly little scrap....NO such luck. It would take me a week of Sunday's to put insides in all of my completed cards, so I am going to attempt to finish the inside when I create the card. Notice I said 'attempt'...not etched in stone. Does anyone else have baskets of cards with nothing inside? Please tell me I'm not alone :-)
Back to creating cards in my Butterfly Garden.
The image was colored with Copic markers and the bee wings were highlighted with a Stardust pen. An ultra fine black pen was used for the "FAUX" stitching which showcases the trail of the bees.
The inside of this card was done!!! Now that is remarkable for me....I have a gazillion cards with nothing on the insides...I figure I can add an appropriate verse when I get ready to use the card! yah right!! Whenever I do this I wish I had a scrap of DP from the front to put inside, think I can find one measly little scrap....NO such luck. It would take me a week of Sunday's to put insides in all of my completed cards, so I am going to attempt to finish the inside when I create the card. Notice I said 'attempt'...not etched in stone. Does anyone else have baskets of cards with nothing inside? Please tell me I'm not alone :-)
Back to creating cards in my Butterfly Garden.
Thursday, August 16, 2012
"Kraft" Mojo
Cindy is the hostess for the Timeless Tuesday Challenge at Flourishes this week. The challenge is to use Kraft paper on your project. There is a delightful sketch challenge at Mojo Monday, so I decided to combine these challenges.
The Magnolia Stamp Set was used for the main image on this card. It was embossed with black detail embossing powder and colored with Prisma colored pencils. The sentiment is from the Tiny Flowers and Tags set. (I won this FAB set!!!)
This is the great sketch that was used for inspiration to create my card.
You too could be a winner but you can't win if you don't play along...so grab some papers and give these challenges a try.
Back to creating cards in my Butterfly Garden.
The Magnolia Stamp Set was used for the main image on this card. It was embossed with black detail embossing powder and colored with Prisma colored pencils. The sentiment is from the Tiny Flowers and Tags set. (I won this FAB set!!!)
This is the great sketch that was used for inspiration to create my card.
You too could be a winner but you can't win if you don't play along...so grab some papers and give these challenges a try.
Back to creating cards in my Butterfly Garden.
Thursday, August 09, 2012
A Duo Sketch
***This card won Honorable Mention***
Today's card is for the Flourishes Timeless Tuesday sketch challenge and the color challenge at Dynamic Duos.
The stamped image from Flourishes was colored with Copic markers. Embossing folder is Sizzix, dp from Basic Grey, die cuts SB, polka dots stamp and zig zag die are PTI.
Back to creating cards in my Butterfly Garden.
Thursday, August 02, 2012
CASE the DT
Ally is the hostess this week for Flourishes Timeless Tuesday challenge. She is challenging everyone to CASE a Design Team Members card. Fun, fun, fun. As I was looking through the gallery, I was constantly drawn to cards that were designed by Barbara Anders so I thought I would case one of her cards. She did all the work...I just copied :-) Easy....Peasy!
The sentiment is from the 'Flowers and Frames' set and image is 'From the desk of ' set. The image was colored with Copic markers.
This is Barbara's card that inspired me to create my card.
Back to creating cards in my Butterfly Garden.
The sentiment is from the 'Flowers and Frames' set and image is 'From the desk of ' set. The image was colored with Copic markers.
This is Barbara's card that inspired me to create my card.
Back to creating cards in my Butterfly Garden.
Thursday, July 19, 2012
Bruchetta al Pomodoro
Love the fresh tomatoes that are available this time of the year. So with those delicious tomatoes in abundance this was the perfect time to make some Bruchetta. Even though this an appetizer we would be happy eating this for our main course.
Amanda is the hostess for this week's Timeless Tuesday Challenge at Flourishes....and.....surprise....her challenge is to make a recipe card! Wow how great is that! If you're looking for some new recipes to try, this is the place to visit. While you're visiting why not leave one of your favorite recipes.
The tomato stamp is from the Italian Garden set.
Get out your stamps, papers and recipes and join in the fun. Each week Flourishes draws one lucky name for a $10 gift code to the Flourishes store! You can't win if you don't play along. I recently won the entire July Release for entering this card which can be seen HERE.
Thank you Flourishes!!
Back to creating cards in my Butterfly Garden.
Amanda is the hostess for this week's Timeless Tuesday Challenge at Flourishes....and.....surprise....her challenge is to make a recipe card! Wow how great is that! If you're looking for some new recipes to try, this is the place to visit. While you're visiting why not leave one of your favorite recipes.
The tomato stamp is from the Italian Garden set.
Get out your stamps, papers and recipes and join in the fun. Each week Flourishes draws one lucky name for a $10 gift code to the Flourishes store! You can't win if you don't play along. I recently won the entire July Release for entering this card which can be seen HERE.
Thank you Flourishes!!
Back to creating cards in my Butterfly Garden.
Thursday, July 12, 2012
Sentiment Front and Center
This week Denise is the hostess for the Timeless Tuesday challenge at Flourishes. She has challenged everyone to create a card using a 'Sentiment' as the main focal point.
The sentiment is from the Butterflies and Blossoms set and the butterflies are from the Gerber Daisies set. The butterflies on the background paper (K and Co) were highlighted with a Sakura Stardust pen and liquid pearls were applied to the center of the bg flowers. Since I don't use a sewing machine I applied faux stitching around the edges with a white get pen then highlighted the stitching with the Stardust pen. The butterflies were stamped on vellum then fussy cut. The ovals are Nesties and the ribbon is from Hobby Lobby.
Back to creating cards in my Butterfly Garden.
The sentiment is from the Butterflies and Blossoms set and the butterflies are from the Gerber Daisies set. The butterflies on the background paper (K and Co) were highlighted with a Sakura Stardust pen and liquid pearls were applied to the center of the bg flowers. Since I don't use a sewing machine I applied faux stitching around the edges with a white get pen then highlighted the stitching with the Stardust pen. The butterflies were stamped on vellum then fussy cut. The ovals are Nesties and the ribbon is from Hobby Lobby.
Back to creating cards in my Butterfly Garden.
Monday, June 11, 2012
Ten Minute Creation
This card is for the Flourishes 10 minute Creation challenge. Since I'm still trying to fill a 'men's' basket with cards, I took this opportunity to make another masculine card.
This card was made using "A Guiding Light' stamp set which can be seen HERE. To create the background behind the ship, I placed a previously made mask on the stamped ship image, then applied dye inks with a piece of Cut 'n Dry. Copic markers were used to add some color to the ship and the 'message in a bottle'.
Glossy Accents was applied to the bottle to give it a glass-like effect.
Back to creating cards in my Butterfly Garden.
This card was made using "A Guiding Light' stamp set which can be seen HERE. To create the background behind the ship, I placed a previously made mask on the stamped ship image, then applied dye inks with a piece of Cut 'n Dry. Copic markers were used to add some color to the ship and the 'message in a bottle'.
Glossy Accents was applied to the bottle to give it a glass-like effect.
Back to creating cards in my Butterfly Garden.
Thursday, June 07, 2012
White & Lace & Pearls
This week Amanda is the hostess for Flourishes Timeless Tuesday challenge. The challenge is to make a white card with lace and pearls.
Layers upon layers of die cuts and different embossing folders were used to create this card. The stamp in the center oval is Gerbera Daisy, colored with Copic markers.
The sheen on some of the pieces was made by misting the CS with a Perfect Pearls and water mixture, this was also used to give a little shimmer to the lace. Glitter was applied to the edges of the center oval and one of the doilys.
Back to creating cards in my Butterfly Garden.
Layers upon layers of die cuts and different embossing folders were used to create this card. The stamp in the center oval is Gerbera Daisy, colored with Copic markers.
The sheen on some of the pieces was made by misting the CS with a Perfect Pearls and water mixture, this was also used to give a little shimmer to the lace. Glitter was applied to the edges of the center oval and one of the doilys.
Back to creating cards in my Butterfly Garden.
Tuesday, May 29, 2012
Thank You
It is with a sad heart that I write this posting for Flourishes Timeless Tuesday challenge. This is my last Guest Designer appearance for this great challenge. How very appropriate that Mona, who is our hostess this week, has chosen a "Thank You" card or tag for the challenge. So I dedicate this card to the whole Flourishes staff and the marvelous DT's that I have had the privilege of working with for the entire month of May. "Thank You" for this wonderful experience.
This card was created with the Mix-N-Mugs set which can be seen HERE. What versatile set this is!! There is something for everyone, including some great masculine motifs. (great for by men's card basket...keep watching, you'll see them soon!) The tea cup was paper pieced then shading was added with a Copic marker. The floral bouquet was also colored with Copic markers.
Hope you will join in this challenge and if you need more inspiration here are the links for the DT members.
This card was created with the Mix-N-Mugs set which can be seen HERE. What versatile set this is!! There is something for everyone, including some great masculine motifs. (great for by men's card basket...keep watching, you'll see them soon!) The tea cup was paper pieced then shading was added with a Copic marker. The floral bouquet was also colored with Copic markers.
Hope you will join in this challenge and if you need more inspiration here are the links for the DT members.
I'm sure I'll see you around the blogosphere. Thanks for visiting.
Back to creating cards in my Butterfly Garden.
Tuesday, May 22, 2012
Spring has Sprung
Hope you are enjoying glorious weather where ever you live. I love all the wonderful colorful flowers that are in bloom this time of year. Beate is our hostess this week at Flourishes Timeless Tuesday Challenge. She has challenged us to create a card with one of Flourishes gorgeous flowers stamps. The challenge for me was to decide which stamp to choose. So many beautiful possibilities. Since it is said 'you never forget your first'...I chose to use the first Flourishes stamp set that I purchased. On with the show....
This center step card was made with the Cherry Blossoms stamp set which can be seen HERE. The sprig of Cherry Blossoms were stamped 3 times, once for main image and the others were used for individual fussy cut flowers. All were colored with Copic markers. Foam dots were used to apply some flowers to the focal point and the others were used to adorn the die cut base at the bottom. The two side panels were embossed to add texture without taking away from the beautiful flowers. Acrylic yellow paint was applied with a toothpick for the centers of the flowers.
Are you ready to be inspired? If so check out fantastic the cards that the DT has created.
This is my fourth week as the Guest Designer at Flourishes...I'm still dancing and singing around the May pole. What a fantastic time I'm having being associated with this top notch DT. Kinda like rubbing elbows with the elite! tee hee
A very special warm welcome to Marilyn, my newest follower. So honored that you have chosen to follow me through the blogosphere. I'll be stopping by to visit you in a day or two.
Back to creating cards in my Butterfly Garden.
This center step card was made with the Cherry Blossoms stamp set which can be seen HERE. The sprig of Cherry Blossoms were stamped 3 times, once for main image and the others were used for individual fussy cut flowers. All were colored with Copic markers. Foam dots were used to apply some flowers to the focal point and the others were used to adorn the die cut base at the bottom. The two side panels were embossed to add texture without taking away from the beautiful flowers. Acrylic yellow paint was applied with a toothpick for the centers of the flowers.
Are you ready to be inspired? If so check out fantastic the cards that the DT has created.
This is my fourth week as the Guest Designer at Flourishes...I'm still dancing and singing around the May pole. What a fantastic time I'm having being associated with this top notch DT. Kinda like rubbing elbows with the elite! tee hee
A very special warm welcome to Marilyn, my newest follower. So honored that you have chosen to follow me through the blogosphere. I'll be stopping by to visit you in a day or two.
Back to creating cards in my Butterfly Garden.
Tuesday, May 15, 2012
Know your ABC's
Boy oh boy is there a great challenge at Flourishes Timeless Tuesday. This week Maki is our hostess and this is her challenge....'Pick a letter of the alphabet and use three elements/supplies that start with the letter you picked". for example, if you pick "B" you could make your creations with "B"rads, "B"uttons, "B"ows, color "B"lue, designer papers "B"asic Grey and so on. Now go Create!!! Can't wait to see what you come up with.
I chose the letter 'C'. The first 'C' is for the flower 'C'lematis, the deep blue paper is from 'C'olorbok, the flowers were 'C'olored with 'C'opic markers and I added a 'C'harm for good luck!
Some of the 'C'opic colors that were used are pale 'C'elestine, 'C'lematis, lt.grayish 'C'obalt', 'C'rystal opal, pale 'C'obalt green, 'C'adium orange and 'C'hinese orange. The butterfly portion of this stamp was stamped a second time, colored, then clear pop dots were used to mounted it over the lower butterfly.
The top wing of this butterfly was stamped on acrylic, colored on the reverse side with 'C'olored sharpie markers, then attached near the body with red liner tape.
Hope you enjoyed my study in "C"'s...I had a lot of FUN with this challenge. Not sure my parents would have liked me getting that many "C"'s on a report card!
Please check out the super creations by the Flourishes Design Team to see what letters of the alphabet they chose! Now go put on your creativity hat and show me your letter of the alphabet.
Back to Creating Cards in my Butterfly Garden.
I chose the letter 'C'. The first 'C' is for the flower 'C'lematis, the deep blue paper is from 'C'olorbok, the flowers were 'C'olored with 'C'opic markers and I added a 'C'harm for good luck!
Some of the 'C'opic colors that were used are pale 'C'elestine, 'C'lematis, lt.grayish 'C'obalt', 'C'rystal opal, pale 'C'obalt green, 'C'adium orange and 'C'hinese orange. The butterfly portion of this stamp was stamped a second time, colored, then clear pop dots were used to mounted it over the lower butterfly.
The top wing of this butterfly was stamped on acrylic, colored on the reverse side with 'C'olored sharpie markers, then attached near the body with red liner tape.
Hope you enjoyed my study in "C"'s...I had a lot of FUN with this challenge. Not sure my parents would have liked me getting that many "C"'s on a report card!
Please check out the super creations by the Flourishes Design Team to see what letters of the alphabet they chose! Now go put on your creativity hat and show me your letter of the alphabet.
Back to Creating Cards in my Butterfly Garden.
Tuesday, May 08, 2012
FTTC #168 Week 2
Hello blogging friends, this is week 2 of being the May Guest Designer at Flourishes Timeless Tuesday Challenge. I hope you'll play along with this challenge for a chance to win a $10.00 gift code to use at the Flourishes store. Silke is our hostess this week and she has chosen "pink as the main color" for the challenge. Being a girly girl this is right up my alley. The hardest part was deciding which stamp set to use.
This card was made with the moth orchid stamp from the appropriately named set "Orchids". The image was stamped twice, colored with Copic markers then fussy cut. Some Copic coloring was lightly added to the backs of the fussy cut pieces, since parts of it would be visible through the acrylic. Both fussy cut pieces were run through the sticker machine. I cut two ovals one pink which was embossed and one white. Gold was applied around each opening then the piece of acrylic was sandwiched between them. A few pearls were attached directly to the acrylic. A small bud from the second stamping was placed on the center of the bow. The stick pin was made from items purchased in the jewelry section at the local craft store.
The verse was stamped on the interior of the card so that it showed through the acrylic when the card was closed.
Grab some papers and play along. You don't have to use Flourishes stamps to enter the challenge. If you win you can buy some! Check out the great samples from the Flourishes Design Team.
Back to creating cards in my Butterfly Garden.
Tuesday, May 01, 2012
Merry Month of May @ Flourishes
It's the merry merry month of May and merriment at my house is at at all time high!! I'm even dancing around the Maypole...(don't try to visualize that!!) ...because I have been invited to be the May Guest Designer for the Timeless Tuesday Challenges at Flourishes. I am simply overjoyed to have this wonderful experience and to be in the company of such a talented Design Team. Enough smiling, giggling and doing the 'happy dance'...on with the card for this week's Challenge. Cindy is the hostess for the week and has requested that we 'Add a Butterfly' Woozer imagine the excitement in my Butterfly Garden...some of these lovely creatures were about to be featured in the Timeless Tuesday Challenge.
I have to admit that this card took me longer than any other card I ever made!! Go figure...I work in my Butterfly Garden many hours every week so this should have been EASY PEASY. There were many revisions after my first try because my DH said my card looked 'MOROSE'...Yikes was it really that sad? Well I now am the proud owner of a basketful of discarded butterflies...but never fear...I'll add them to other cards. I used the Butterflies and Blossoms stamp set for this card.
The background was created by stamping the butterflies randomly with a rainbow stamp pad, (stamped off on scrap paper first) embossed with an embossing folder then sprayed with a fine mists to add some sheen. Some of the raised designs from this embossing folder resemble butterflies so I thought that it would be perfect for this card. You can see the multi colored background butterflies and the sheen from the misting in the above photo.
The larger butterflies were stamped on white cardstock and then fussy cut. The top layer butterfly was stamped on vellum.
Several half butterflies were added to the floral bouquet, each with a cardstock layer and a vellum layer. Several different dies and punches were used to create this bouquet. Gold pearls were applied to the centers of the flowers
The Design Team has prepared some marvelous eye candy for you to enjoy. Check them out!
Hope you enjoyed my first Guest Designer card. Check back next week to see my next creation.
Back to creating cards in my Butterfly Garden. Don't be surprised if you see lots of random Flourishes butterflies appearing on my cards!
I have to admit that this card took me longer than any other card I ever made!! Go figure...I work in my Butterfly Garden many hours every week so this should have been EASY PEASY. There were many revisions after my first try because my DH said my card looked 'MOROSE'...Yikes was it really that sad? Well I now am the proud owner of a basketful of discarded butterflies...but never fear...I'll add them to other cards. I used the Butterflies and Blossoms stamp set for this card.
The background was created by stamping the butterflies randomly with a rainbow stamp pad, (stamped off on scrap paper first) embossed with an embossing folder then sprayed with a fine mists to add some sheen. Some of the raised designs from this embossing folder resemble butterflies so I thought that it would be perfect for this card. You can see the multi colored background butterflies and the sheen from the misting in the above photo.
The larger butterflies were stamped on white cardstock and then fussy cut. The top layer butterfly was stamped on vellum.
Several half butterflies were added to the floral bouquet, each with a cardstock layer and a vellum layer. Several different dies and punches were used to create this bouquet. Gold pearls were applied to the centers of the flowers
The Design Team has prepared some marvelous eye candy for you to enjoy. Check them out!
Back to creating cards in my Butterfly Garden. Don't be surprised if you see lots of random Flourishes butterflies appearing on my cards!
Subscribe to:
Posts (Atom)


