Tuesday, September 28, 2010

A Taste of the Orient


C-R-A-S-H....that is the sound my laptop made. It took 16 discs to restore it to the original factory condition. Yippie! It is restored but everything that was added since it left the factory is gone. Boo-hoo. I am almost back to where it was before it died. I will be buying and putting everything on an external hard drive from now on.


FYI...I already sent the belated Birthday card from the last post. As predicted I forgot a Birthday!


On to the Orient! This is the sneak peak photo I shared with you.
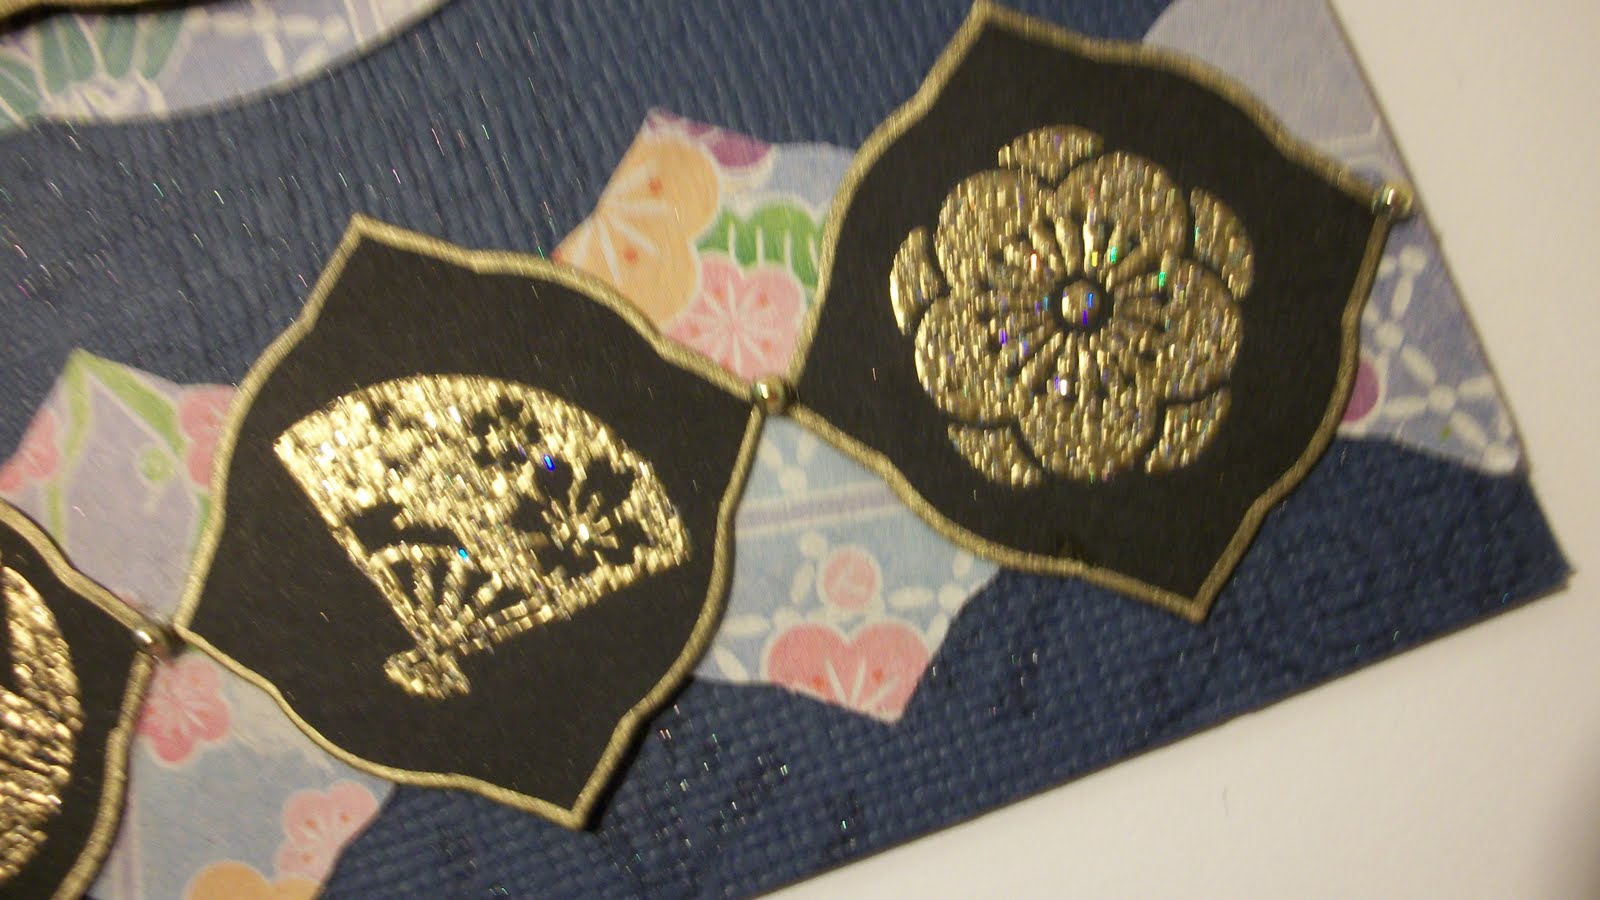


I used a pack of origami paper that I bought at A.C. Moore to create these cards. When I think of "Asian" I usually think of red, black, gold but these papers are "pastel".


It was a challenge to think outside the box when creating these cards. The colors were soft and muted not bold and bright.


"Kodomo" stamps were used on card below. It was embossed with Judi-Kins Egyptian Gold embossing powder.


The cat in the photo is "Maneki Neko" or "beckoning cat". There are several legends surrounding this feline.


Here is one of the most popular, explaining the cat's origins:
The Temple Cat: This story goes that a wealthy feudal lord was taking shelter under a tree near Gotoku-ji temple (in Western Tokyo) during a thunderstorm. The lord saw the temple priest's cat beckoning to him and followed; a moment later the tree was struck by lightning. The wealthy man became friends with the poor priest and the temple became prosperous. When the cat died, supposedly the first Maneki Neko was made in his honor


The same embossing powder was used on the card below. Rather than embossing the whole background I chose to just do a portion of it. It is an interesting effect when only the side of the card is embossed.


Here is a closer look. A piece of text weight paper was put under the origami paper before I punched the flowers. If you don't layer these papers the edges of the flower will be ragged. Gold liquid pearl was used in the center of the flowers.


The gold cord on the next card is from "Hanko". It is rather stiff so it was easy to form into a pleasing curve.


This is a close-up of the flower on the next card. I found these flowers at Michael's in the clearance section. The center of the flower is a sticker, actually it is a piece from a border sticker that is about 12' long. and the rhinestone is already on the sticker. This was bought at JoAnn's in......you guessed it.....the clearance section. Gotta love clearance!!!


More Asian cards in the next post.


Back to creating in my Butterfly Garden

Tuesday, September 14, 2010

bits 'n Pieces


Last week was the Lilac Inkers meeting. We all created Tri-shutter cards similar to the cards I shared with you on August 24. In addition to making cards with solid color cardstock we made a card using patterned cardstock for the base of the card. Instead of having a verse on the front I chose to be a little whimsical. The stamp that I used was one of the $1.00 stamps from Michaels. The Cuttlebug embossing folder was used for the top layer of paper and it was sponged with Vivid Lime Green and Lavender dye ink pads. I colored the snail with Prisma colored pencils and blended the colors with Gamsol. The lines for the grass were made by hand using a extra fine line pen.


I love it when a plan comes together! Fortunately I had a green snail brad which matched the color of the snail on the front. He's even traveling in the same direction. Must be "follow the leader".

A few pieces of sheer ribbon broke up the solid look of the dotted swiss. Finally I am prepared for a "birthday" that I know I will forget (I usually miss at least one a year). Better late than never!


I need a gift for a swap and decided to use some of my "All a Flutter" (Mariposa) cards for the gift. Lauren from MTME has designed some fabulous templates for packaging everything you make (including jams and jellies). I used one of her templates to make this box which holds cards and envelopes. I carried the "All A Flutter" theme from the cards to the outside of the box.


The box is made in two parts and the top slides off to reveal the contents. The ribbon stays attached so it is easy to re-assemble.


There are 5 cards/envelopes in this box with room for 2 or 3 more depending on the layers on the cards and the thickness of the embellishments .


I just finished making some mini photo albums. I have made these, in the past, for my grandchildren and personalized the outside of the albums with their names and the specific day they are celebrating (birthday, dance recital). These 2 albums are for "just in case" I need a quick gift!


Clear A2 envelopes are used to make the pages which hold the photos. This next album has a matching note pad.


A "memory" stamp was used on the top of the pages as shown below.

Each page has a different verse. The zigzag that is on the front and carried through to inside is the small zigzag die from PTI.


Here is an "Orient" peek. Promise it will be the next post!

Back to creating cards in my Butterfly Garden.

Thursday, September 09, 2010

More Tea


Here are more cards from the "A Spot of Tea" stamp set from MTME . I now have 7 tea cups, not quite a service for 12 but it is a good start.


I used a paper doily for the background of this card. I reminds me of the lacy crochet tablecloths that my grandmother used on her table. The green cardstock behind the cup looked plain, so I used a script stamp randomly to give it a more interesting effect. A few mini pearls add just the right amount of "bling".


I found this green "cup brad" in my box of brads and even though it wasn't as delicate at the tea cup it added a little interest to the "Tea Time medallion". A piece of cut 'n dry with some white ink was used to highlight the dots on the blue background. The white border is from a Sizzix die.


I picked the background paper for this card then realized that I didn't have an ink pad that would match the color of the flowers! I think that picking out the papers is sometimes the hardest thing to do because I don't always have the inks or embellishments that will match the papers. After stamping the flowers on the tea cup I used the same ink pad to change the flowers color on the background paper. I tapped the ink pad on an old CD and then pick up some of the color with a dove blender and applied it to the flowers. Voila!! A perfect match.


Butterflies on the window frame in the Butterfly Garden.

Back to creating more cards in the Butterfly Garden. A taste of the Orient is next.

Sunday, September 05, 2010

Party Time


This is a photo of my fantastic granddaughters! Can you tell they were having a good time? They have been collaborating to cook a birthday feast for me since July. I had no idea what they were doing but apparently there were texts, e-mails and phone calls between them. They decided on the menu and made a grocery list. My two wonderful daughters provided the financial support for their ingredient list. The girls did all the planning and cooking. OMG what a great meal they prepared! : )


Tomatoes were chopped and made into a delicious bruschetta. Sliced chicken was used for a mouth watering Tuscan Chicken flat bread. After nibbling on the bruschetta and flat bread(alright I confess it was a lot more than a nibble) they brought out a tasty anti-pasta salad! This was just the appetizers and I'm already in "food heaven". The main course was vegetable OR meat lasagna. Not one but two choices! Grilled eggplant, zucchini, spinach, mushrooms and cheese were layered in perfect portions for the veggie lasagna. The meat lasagna had a combination of ground beef and sausage. Can you say delicious! I don't know what seasonings they used on the garlic bread but whatever they blended...it was tasty! We had broccoli, too!


Last but not least was the marvelous dessert. The girls decorated the "Tinkerbell" cake. They each contributed to this creation, making flowers, leaves, vines and Tinkerbell. Tink is one of my favorite Disney characters.


Our future is in good hands with these artistic and talented young ladies. I'm so proud of them.


I have been blessed to have such thoughtful and creative granddaughters and daughters. Thanks to the three granddaughters who cooked.....the two daughters that shopped, provided transportation, finances, a kitchen to cook in, washed dishes(for the cooks), and made sauce for the lasagna I had a birthday that will be remembered for many, many years.


Tuesday, August 31, 2010

A Spot of Tea


I have a collection of bone china tea cups. I have been looking for stamps that would represent these delicate cups. Most of the stamps I found were small and needed lots of layering to fill the front of a card. Lauren from MTME designed "A Spot of Tea" stamp set . The cup is large enough to be the focal point on the front of a card. It measures about 2 1/2" tall (without the lemon) and about 2 1/2" wide. There are 20 stamps in the set. This set has plenty of options for decorating the cup and also includes verbiage and a couple of matching tags. Once I got started stamping these cute cups I had a hard time stopping. I wanted a service for 12!

This is one of the tags that I mentioned. I cut out the center of the tag and replace it with a pale green dotted paper and left the purple as a border of the tag.


No "tea stamp set" would be complete without a "Tea Time" stamp.


Who doesn't love a cup of tea when they're not feeling well? This would be great to send to an "under the weather" friend and include a tea bag inside the card.
I didn't quite make a service for 12 but got past the halfway point. I'll share more cups in my next post.
Back to creating more cards in the Butterfly garden.

Thursday, August 26, 2010

Full Front Tri-Shutter Cards

These two cards are tri-shutter cards with
a twist. The front of the card is probably similar to cards you usually make.
The outside is a plain 'ol rectangle.
It is much easier to decorate when you don't have to cut paper into unusual shapes.
These cards measure 5 1/2" X 4", so they are only 1/4" narrower than the usual A2 cards.
From the outside they look just like a regular card. The surprise is inside!
When the card is opened you can see how similar it is to it's cousin the "Tri-fold" card.


The butterfly was purchased at a thrift shop where the sell vintage buttons, embellishments, laces, tassels and lots of other "fun" stuff. The butterflies were in a package that was originally sold by the yard. I just snipped the stitching to separate one butterfly from the rest.


When making the full front tri-fold you eliminate the scoring at 2". You score at 4", 8" & 10".

The top and bottom sections (1 1/2" wide) get scored at 6". Don't score the middle.

I love the "laughing sentiment" on the blue card. Oh how true!!!

Back to creating cards in the Butterfly Garden.

Tuesday, August 24, 2010

Tri-shutter cards


I wanted to make some tri-shutter cards but didn't want to cut lots of little pieces of paper. Time was an issue...once again! I simplified the process by leaving some of the areas blank. The top card is opened and you can see the 6 areas that were left blank. There are 5 green rectangles inside the card and one on the front under the scalloped oval. Leaving these areas blank cut down on cutting and assembly time which gets a "thumbs-up" from me. This summer has been very busy and I apologize for the length of time between posts. I made some "full front" tri-shutter cards and will share them soon. It is easier to decorate the "full" front of the card and there are a lot more decorating options.

Notice the woodpecker...it is one of Grandpa's carved birds. He was amazing.


This is the card display area in the Butterfly Garden. The butterflies are even of the shelves.

Back to creating cards in the Butterfly Garden.

I am fascinated with "Asian" type cards so I am in the process of creating some Asian themed cards. Stay tuned for a taste of the Orient.

Thursday, August 12, 2010

Boxed Cards


Last night was our Lilac Inkers meeting. Our challenge for August was to make a card using one of the cards from the boxed cards w/envelopes that are sold at JoAnn's. I found this box of prefolded patterned cards in the clearance section. Sign me up!!! I love "pink" price tags. Now what do I do with all of these cards and how do I make them all look different? Lilac Inkers to the rescue. This is a group of talented, creative women. They are all amazing and inspire me every time they complete a "challenge". Enjoy!
Back to creating cards in the Butterfly Garden.

Tuesday, August 10, 2010

Mariposa continued

Here are a few more cards made with the DCWV Mariposa matstack. I really enjoyed working with the "All a Flutter" stamps from MTME. The "All a Flutter Sentiments" set has a great variety of verses and sayings. The font is very delicate on these on these stamps and I always get a clear image when I stamp. This speaks volumes to the high quality of these stamps.


In the bottom right corner of this photo is a crochet flower. I got the pattern from Nichole Heady's "capture the moment" blog. Nichole has been gracious enough to provide step by step pictures. YEAH...I learn better when I see photos. Did you ever try to decipher a crochet pattern? Ch; sl st;(sc, 3dc, sc)...hmmm...easier with pictures. The butterfly is a Martha Stewart punch that has been layered onto dark green paper then cut out with scissors. Faux stitching was done with a Micron pen.

The verse was stamped on vellum and faux stitching was done with a gold metallic pen. A paper piercing tool was used to create the trail which shows the flight of the butterfly. Glue pen was used to hold glittter inside the butterfly wings.

The butterfly was stamped and then cut out with scissors. The verse was cut following the contour of the words. A few pearls added a little glitz.

The butterfly was colored with copic markers. Got copics? These aren't like Marvy markers!! Practice makes perfect and the more you practice the more you get the "feel" of how to use them. Be sure you have a heavy cardstock because they "bleed" through the paper.
This last card has the same cut out verse. A nestability die was used as the base for the butterfly. Two stamps (one for the verse, one for the butterfly), a few pearls, some glitter and "presto change-o" the card is completed.

Back to creating cards in the Butterfly Garden.

The clock in the Butterfly Garden.

Friday, August 06, 2010

Mariposa Matstack

I love the variety of Matstacks that are available at JoAnns. How many have you bought? The more important question is...How many have you actually used? Some people collect Hummels, I collect Matstacks! I saw the Mariposa matstack and so of course I had to buy it. In Spanish "Mariposa" means "butterfly". Hmmm....This matstack would be a perfect match to the "All a Flutter" stamps and "All a Flutter" sentiments from MTME. I took advantage of the beautiful paper and just added a few butterflies and sentiments and "voila" cards were completed quickly. There are a few close-up views below.


The verse was stamped on vellum and run through the Xyron machine so it was easy to attach to the card front. Paper pierced holes show the flight of the butterfly.


The center part of the wings were coated with a glue pen then dipped in fine glitter. A center opening on this card adds a little interest.


The black and white cardstock were cut with Nestability dies. The same technique(as above) was used to give the butterfly a little sparkle.


The blossom and circle Nestability dies were used to layer the circular area on this card.


This card has no stamping just layered papers, a foam mounted butterfly and a silk flower with a pearl in the middle. More "Mariposa" cards in the next post.


Back to creating cards in the butterfly garden.


BTW here is a photo of the door in the butterfly garden. This is where I create. Visitors are always welcome in the garden. Come join me!