Sunday, October 31, 2010

Holidays 3 & 4

As promised here are two more cards that I created with the package of stickers that I bought at Hobby Lobby. I tried to use the same Cuttlebug embossing folders and Nestabilities on most of the cards.


Here is card #3:

Card #4:

Back to creating cards in my Butterfly Garden.

Saturday, October 30, 2010

Holidays

I noticed that the store have all of their Christmas merchandise displayed. Christmas may not be in the air but it is definitely in the stores! The displays inspired me to create some early Christmas cards. While at Hobby Lobby I bought a package of Christmas stickers, brads and 2 rolls of ribbon.


There was a definite "country/vintage" feel to these stickers so I chose to use kraft paper for most of the cards. The red on the stickers was closer to a brick color not the traditional bright red you associate with Christmas. The greens were also muted. I used cardstock colors that closely matched the hues in the stickers.


I was able to make 10 cards with the package of stickers. Here is card #1:


Here is card #2:


I will post 2 cards every day. Stop by tomorrow and see the next two cards. If you like what you see please leave a comment. I would love to hear from you.
Back to creating cards in my Butterfly Garden.

Saturday, October 16, 2010

An "Inky" Thanksgiving


These are cards I made with an Inky Antics clear rubber stamp set. This year I used this set for all of my Thanksgiving cards. I get bored doing the same card over and over again so I usually pick a stamp or stamp set for each holiday and make many different variations with the same stamp. I like to be able to change the appearance of my cards by using different papers and layouts. All the cards were colored with Prisma colored pencils and Gamsol. The "Inky" website has great directions for blending colored pencils with Gamsol. Check it out!
When I was growing up I was told "you never mix patterns on the clothes you are wearing". If you had a solid color skirt or pants you could wear a patterned top...but never mix plaids with stripes or flowers or paisley. I have noticed that many cards incorporate many patterns on one card. Keeping this in mind this is my attempt at mixing patterns. ENJOY!


Here are four of the cards:


A leaf shaped button, regular button, leaf punch, ribbon, twine, patterned papers and Nestabilities enabled me to get a different look on each card. I love adding embellishments ...I think that is when a card really comes to life.


Here are four different versions:


More patterned papers, ribbons buttons, twine, brads, leaf punch, embossing powder and of course Nestabilities all helped to create different layouts.


Whenever I show someone a card they always open it up to see what's inside so...here are a few insides:


Back to creating cards in my Butterfly Garden.

Thursday, October 07, 2010

STAMP OASIS @ SCS Flower City Gathering

Last Saturday, October 2, 2010, I participated in the Flower City Gathering in Rochester New York. It was a day full of stamping, friends, food and fun! I got this marvelous stamp in my "goodie bag". It is called "Spooky Tree" a Stamp Oasis stamp courtesy of Rubbernecker Stamps. Thanks to the wonderful people at Rubbernecker Stamps I was able to create this Halloween card.


Opalite ink pads using the direct to paper technique were applied to black cardstock. It is hard to photograph the sparkle that these ink pads add to dark cardstock. In the photo below you can see a few different shades of color on the background and a little of the sparkle.


I used Versamark and Egyptian Gold to emboss the "Spooky Tree". Isn't this the greatest Halloween tree you have ever seen! A Terra Cotta ink pad was streaked over a piece of gold stardream paper and was used for the moon which had been cut out with a craft knife. Several layers of tissue paper were used to die cut the Sizzix ghost. The bats (on the same die) were cut out of white stardream paper.


A glue stick was used only on the head of the ghost so that the layers appear to float.

Check out Rubbernecker Stamps to see the other stamps that they have. I think you will love what you see. I visited their site and have a list of stamps that I want to order.

Back to creating cards in my Butterfly Garden.

Asian Part II

Here are a few more Asian cards using the same paper that was used in the last post.


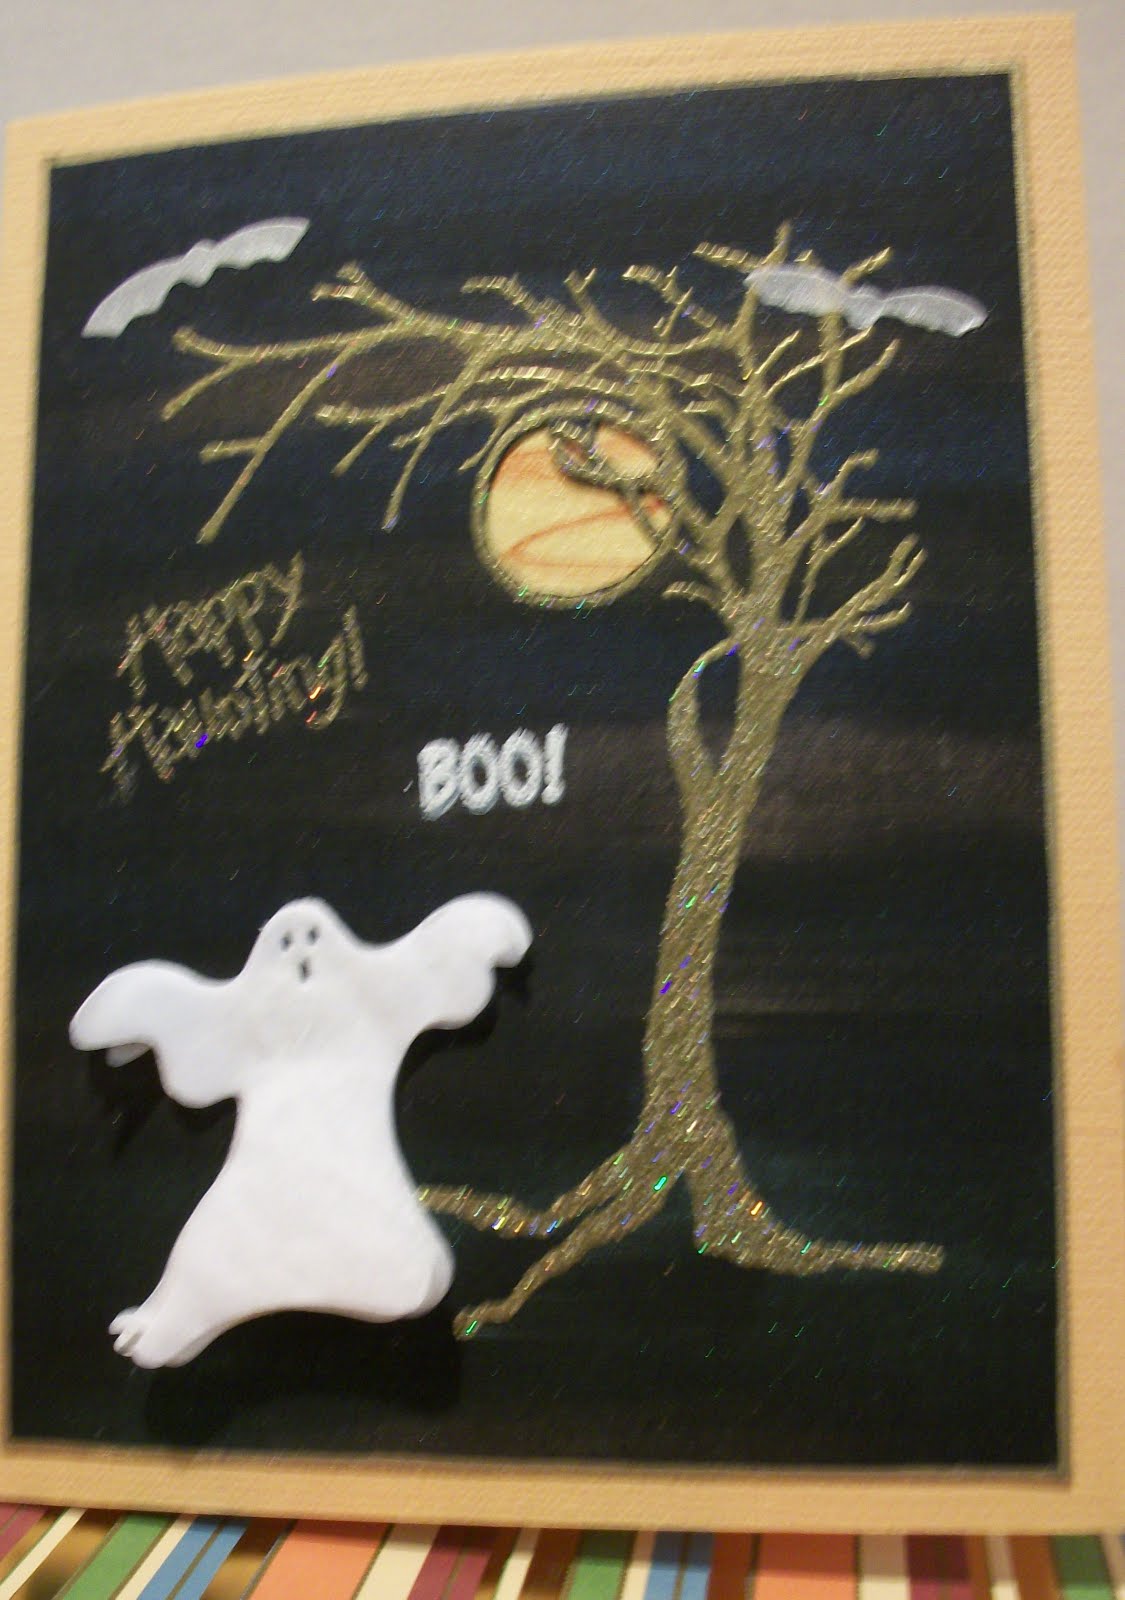
The stamp used in the photo below is a "Kodomo" stamp. The coloring was added using Prisma colored pencils and Gamsol. The embossed areas were done with JudiKins Egyptian Gold. A fine gold thread (JoAnn's) was wrapped around the green cardstock for a little "bling".


Here is another legend about the Maneki Neko (beckoning cat) shown in the above photo :

An old woman living in Imado (eastern Tokyo) was forced to sell her cat due to extreme poverty. Soon afterwards the cat appeared to her in a dream. The cat told her to make its image in clay. She did as instructed, and soon afterward sold the statue. She then made more, and people bought them as well. They were so popular she soon became prosperous and wealthy.


More interesting info:
The Maneki Neko (招き猫?, literally "Beckoning Cat"; also known as Welcoming Cat, Lucky Cat, Money Cat, or Fortune Cat. Sometimes incorrectly labelled Chinese Lucky Cat is a common Japanese sculpture, often made of ceramic, which is believed to bring good luck to the owner. The sculpture depicts a cat (traditionally a Japanese Bobtail) beckoning with an upright paw, and is usually displayed—many times at the entrance—in shops, restaurants, pachinko parlors, and other businesses. In the design of the sculptures, a raised left paw supposedly attracts money, while a raised right paw protects it.


Pachinko (パチンコ?) is a Japanese gaming device used for amusement and gambling. A pachinko machine resembles a vertical pinball machine, but with no flippers and a large number of relatively small balls. The player fires a ball up into the machine, controlling only its initial speed. The ball then cascades down through a dense forest of pins. In most cases, the ball falls to the bottom and is lost, but if it instead goes into certain pockets, more balls are released as a jackpot. Pachinko machines were originally strictly mechanical, but modern ones have incorporated extensive electronics, becoming similar to video slot machines. The machines are widespread in establishments called "pachinko parlors".


Enough knowledge for the day back to the cards.


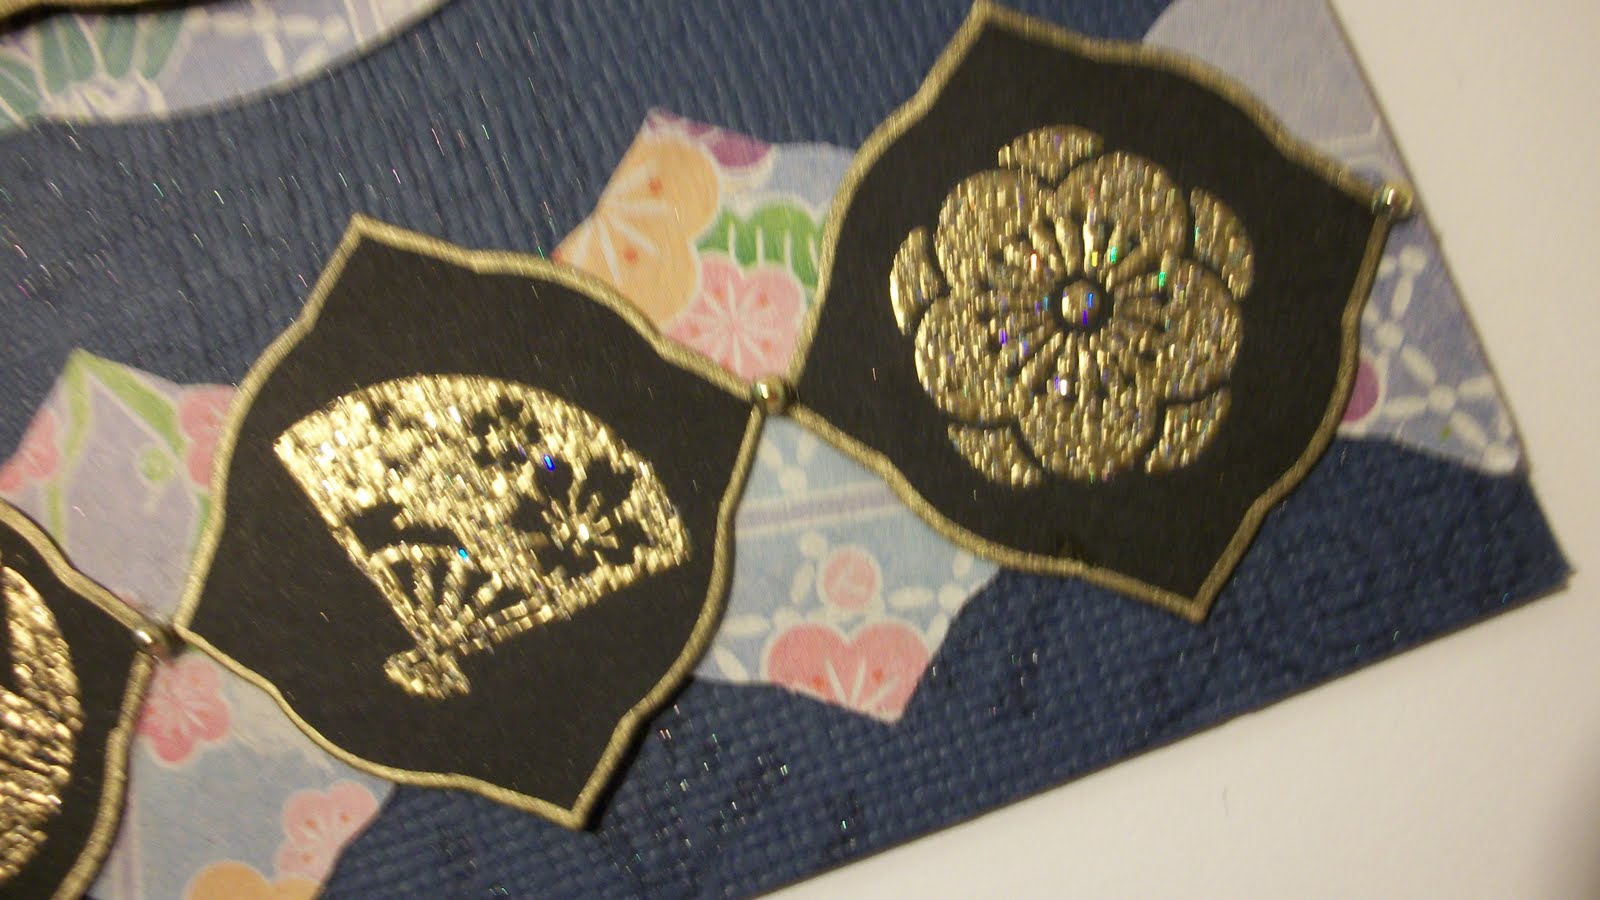
The fan in the photo below is Washi Paper Quilting. I purchased the supplies from Hanko. The fan is actually "puffy" just like a quilt. Unfortunately the photo doesn't show this.


This last photo shows more gold thread and a small good luck charm that was purchased from Sky Blue Pink. Kodoma stamps and prisma colored pencils were used on the floral section.


Back to creating cards in my Butterfly Garden.

Tuesday, September 28, 2010

A Taste of the Orient


C-R-A-S-H....that is the sound my laptop made. It took 16 discs to restore it to the original factory condition. Yippie! It is restored but everything that was added since it left the factory is gone. Boo-hoo. I am almost back to where it was before it died. I will be buying and putting everything on an external hard drive from now on.


FYI...I already sent the belated Birthday card from the last post. As predicted I forgot a Birthday!


On to the Orient! This is the sneak peak photo I shared with you.


I used a pack of origami paper that I bought at A.C. Moore to create these cards. When I think of "Asian" I usually think of red, black, gold but these papers are "pastel".


It was a challenge to think outside the box when creating these cards. The colors were soft and muted not bold and bright.


"Kodomo" stamps were used on card below. It was embossed with Judi-Kins Egyptian Gold embossing powder.


The cat in the photo is "Maneki Neko" or "beckoning cat". There are several legends surrounding this feline.


Here is one of the most popular, explaining the cat's origins:
The Temple Cat: This story goes that a wealthy feudal lord was taking shelter under a tree near Gotoku-ji temple (in Western Tokyo) during a thunderstorm. The lord saw the temple priest's cat beckoning to him and followed; a moment later the tree was struck by lightning. The wealthy man became friends with the poor priest and the temple became prosperous. When the cat died, supposedly the first Maneki Neko was made in his honor


The same embossing powder was used on the card below. Rather than embossing the whole background I chose to just do a portion of it. It is an interesting effect when only the side of the card is embossed.


Here is a closer look. A piece of text weight paper was put under the origami paper before I punched the flowers. If you don't layer these papers the edges of the flower will be ragged. Gold liquid pearl was used in the center of the flowers.


The gold cord on the next card is from "Hanko". It is rather stiff so it was easy to form into a pleasing curve.


This is a close-up of the flower on the next card. I found these flowers at Michael's in the clearance section. The center of the flower is a sticker, actually it is a piece from a border sticker that is about 12' long. and the rhinestone is already on the sticker. This was bought at JoAnn's in......you guessed it.....the clearance section. Gotta love clearance!!!


More Asian cards in the next post.


Back to creating in my Butterfly Garden

Tuesday, September 14, 2010

bits 'n Pieces


Last week was the Lilac Inkers meeting. We all created Tri-shutter cards similar to the cards I shared with you on August 24. In addition to making cards with solid color cardstock we made a card using patterned cardstock for the base of the card. Instead of having a verse on the front I chose to be a little whimsical. The stamp that I used was one of the $1.00 stamps from Michaels. The Cuttlebug embossing folder was used for the top layer of paper and it was sponged with Vivid Lime Green and Lavender dye ink pads. I colored the snail with Prisma colored pencils and blended the colors with Gamsol. The lines for the grass were made by hand using a extra fine line pen.


I love it when a plan comes together! Fortunately I had a green snail brad which matched the color of the snail on the front. He's even traveling in the same direction. Must be "follow the leader".

A few pieces of sheer ribbon broke up the solid look of the dotted swiss. Finally I am prepared for a "birthday" that I know I will forget (I usually miss at least one a year). Better late than never!


I need a gift for a swap and decided to use some of my "All a Flutter" (Mariposa) cards for the gift. Lauren from MTME has designed some fabulous templates for packaging everything you make (including jams and jellies). I used one of her templates to make this box which holds cards and envelopes. I carried the "All A Flutter" theme from the cards to the outside of the box.


The box is made in two parts and the top slides off to reveal the contents. The ribbon stays attached so it is easy to re-assemble.


There are 5 cards/envelopes in this box with room for 2 or 3 more depending on the layers on the cards and the thickness of the embellishments .


I just finished making some mini photo albums. I have made these, in the past, for my grandchildren and personalized the outside of the albums with their names and the specific day they are celebrating (birthday, dance recital). These 2 albums are for "just in case" I need a quick gift!


Clear A2 envelopes are used to make the pages which hold the photos. This next album has a matching note pad.


A "memory" stamp was used on the top of the pages as shown below.

Each page has a different verse. The zigzag that is on the front and carried through to inside is the small zigzag die from PTI.


Here is an "Orient" peek. Promise it will be the next post!

Back to creating cards in my Butterfly Garden.

Thursday, September 09, 2010

More Tea


Here are more cards from the "A Spot of Tea" stamp set from MTME . I now have 7 tea cups, not quite a service for 12 but it is a good start.


I used a paper doily for the background of this card. I reminds me of the lacy crochet tablecloths that my grandmother used on her table. The green cardstock behind the cup looked plain, so I used a script stamp randomly to give it a more interesting effect. A few mini pearls add just the right amount of "bling".


I found this green "cup brad" in my box of brads and even though it wasn't as delicate at the tea cup it added a little interest to the "Tea Time medallion". A piece of cut 'n dry with some white ink was used to highlight the dots on the blue background. The white border is from a Sizzix die.


I picked the background paper for this card then realized that I didn't have an ink pad that would match the color of the flowers! I think that picking out the papers is sometimes the hardest thing to do because I don't always have the inks or embellishments that will match the papers. After stamping the flowers on the tea cup I used the same ink pad to change the flowers color on the background paper. I tapped the ink pad on an old CD and then pick up some of the color with a dove blender and applied it to the flowers. Voila!! A perfect match.


Butterflies on the window frame in the Butterfly Garden.

Back to creating more cards in the Butterfly Garden. A taste of the Orient is next.

Sunday, September 05, 2010

Party Time


This is a photo of my fantastic granddaughters! Can you tell they were having a good time? They have been collaborating to cook a birthday feast for me since July. I had no idea what they were doing but apparently there were texts, e-mails and phone calls between them. They decided on the menu and made a grocery list. My two wonderful daughters provided the financial support for their ingredient list. The girls did all the planning and cooking. OMG what a great meal they prepared! : )


Tomatoes were chopped and made into a delicious bruschetta. Sliced chicken was used for a mouth watering Tuscan Chicken flat bread. After nibbling on the bruschetta and flat bread(alright I confess it was a lot more than a nibble) they brought out a tasty anti-pasta salad! This was just the appetizers and I'm already in "food heaven". The main course was vegetable OR meat lasagna. Not one but two choices! Grilled eggplant, zucchini, spinach, mushrooms and cheese were layered in perfect portions for the veggie lasagna. The meat lasagna had a combination of ground beef and sausage. Can you say delicious! I don't know what seasonings they used on the garlic bread but whatever they blended...it was tasty! We had broccoli, too!


Last but not least was the marvelous dessert. The girls decorated the "Tinkerbell" cake. They each contributed to this creation, making flowers, leaves, vines and Tinkerbell. Tink is one of my favorite Disney characters.


Our future is in good hands with these artistic and talented young ladies. I'm so proud of them.


I have been blessed to have such thoughtful and creative granddaughters and daughters. Thanks to the three granddaughters who cooked.....the two daughters that shopped, provided transportation, finances, a kitchen to cook in, washed dishes(for the cooks), and made sauce for the lasagna I had a birthday that will be remembered for many, many years.


Tuesday, August 31, 2010

A Spot of Tea


I have a collection of bone china tea cups. I have been looking for stamps that would represent these delicate cups. Most of the stamps I found were small and needed lots of layering to fill the front of a card. Lauren from MTME designed "A Spot of Tea" stamp set . The cup is large enough to be the focal point on the front of a card. It measures about 2 1/2" tall (without the lemon) and about 2 1/2" wide. There are 20 stamps in the set. This set has plenty of options for decorating the cup and also includes verbiage and a couple of matching tags. Once I got started stamping these cute cups I had a hard time stopping. I wanted a service for 12!

This is one of the tags that I mentioned. I cut out the center of the tag and replace it with a pale green dotted paper and left the purple as a border of the tag.


No "tea stamp set" would be complete without a "Tea Time" stamp.


Who doesn't love a cup of tea when they're not feeling well? This would be great to send to an "under the weather" friend and include a tea bag inside the card.
I didn't quite make a service for 12 but got past the halfway point. I'll share more cups in my next post.
Back to creating more cards in the Butterfly garden.